Wednesday, October 31, 2012

Truss-t Me; I'm an Architect

The first section of framing for the rear wall rebuilt, work can start to move upward. Ladders require a lot of moving around, and resting them against paper-like walls is a bit foreboding. Luckily a 12' set of steel scaffolding sits in the front yard of a house just down the street. Even more luckily, we've established a good relationship with the guy who (kind of) owns it.


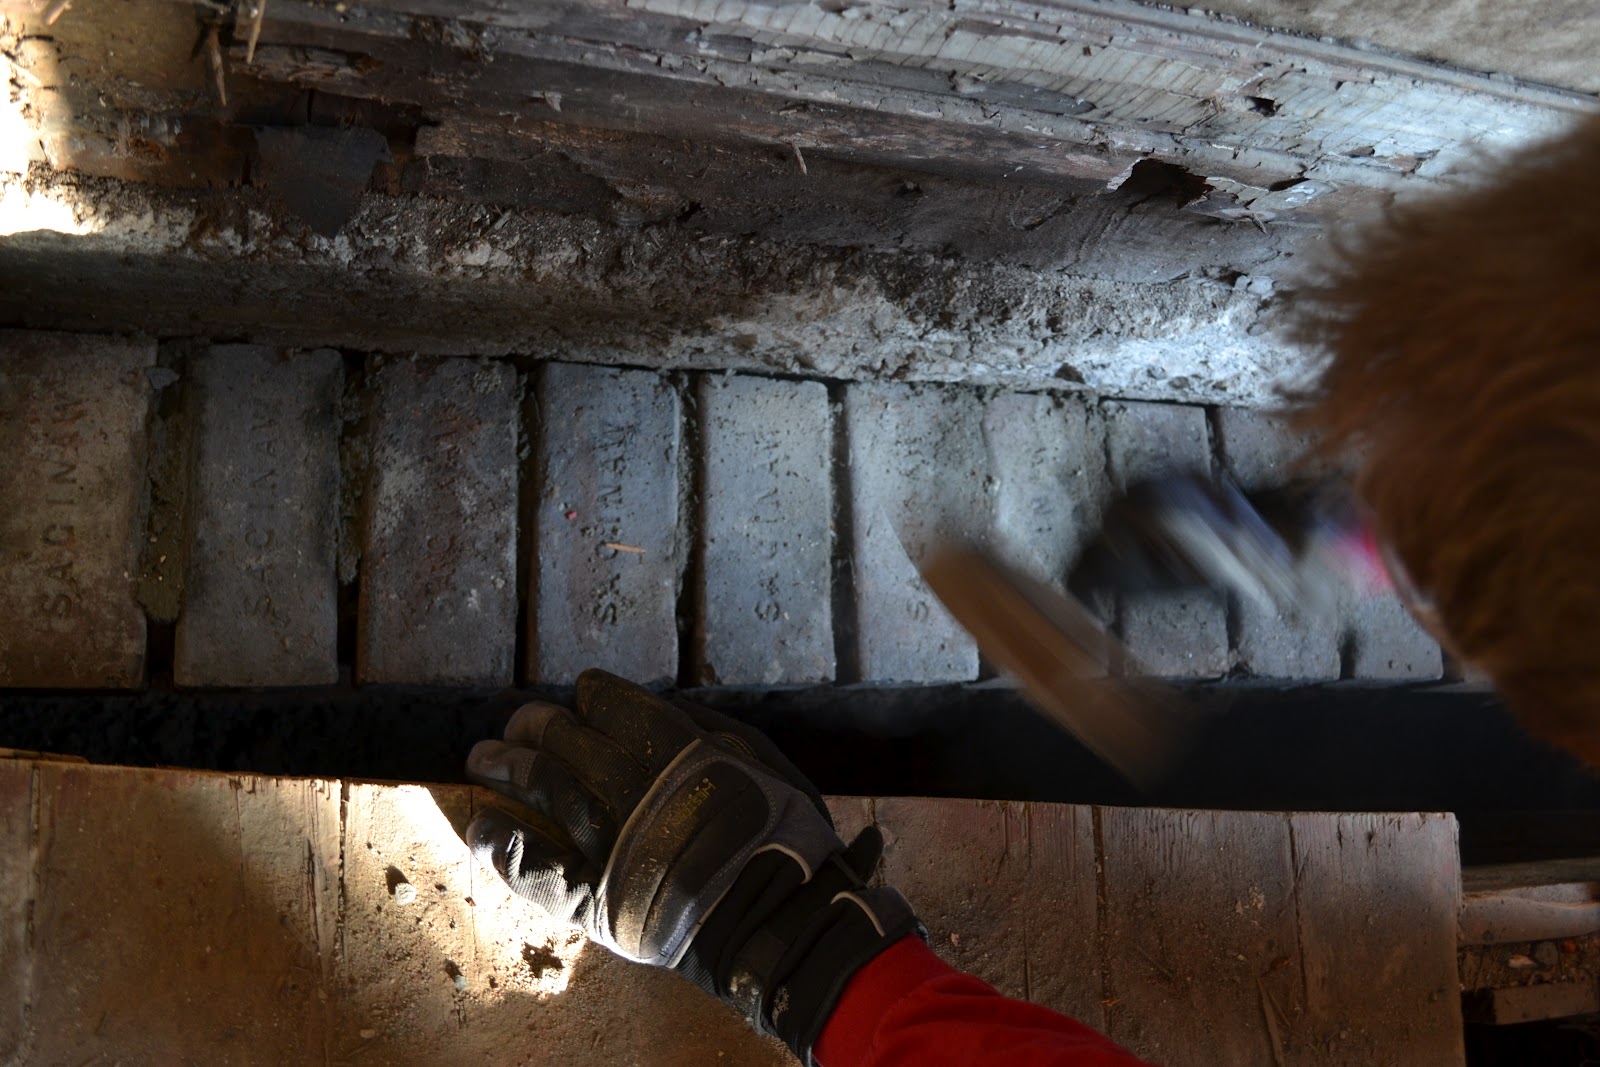
After building some wood platforms for it, we have good access to the rest of the wall and the roof edge where we'll be carrying the new roof structure to.


We plan to make the roof an accessible outdoor terrace, so we have to take into account accepted Michigan design loads for a deck, which equates to 60 psf. With more research we find that the design snow load is also 60 psf. Arguing that there will never be people on the roof at a time when it is snowing, we don't have to add these numbers together - and in fact - don't have to make the structure any more heavy duty than normal (the two loads being equal).


Still, the required 14' 2x10's are hard to come by. Even in the many old houses available, the walls and even many roofs are made only of 2x4's. An abundance of 2x4's leads us to the above sketch for a sloping Howe truss, which at 12"-14" deep can support substantially more than a typical joist, at a fraction of the cost. Kicking ourselves for not paying more attention in Structures II, we've wearily begun working through the calculations to prove its structural capacity.

Tomorrow, we begin the prototype.


They may not look like much, but friend of ours in Detroit was able to pull a building permit using a drawing on a napkin.

There is some flexibility in working without a permit under conditions of "emergency repair," but this can only go so far. As we develop more 'professional' drawings and go through the permit process, we work only removing completely rotted materials and by adding to the structure rather than removing and replacing it.

Thursday, October 18, 2012

Scribblings

As we being reframing the rear wall, we pause to consider the wide open opportunity for a new window scheme. This wall isn't a street facade (where the Historic District Council has reign over aesthetic), so we may have some creative freedom.

Brain-storming interior cuts in the stair; material composition in the lofted space

Monday, October 15, 2012


This is the Flint historic district's most recent victim, one of many in the two blocks of vacant homes on Mason St. A couple months ago the house stood with a single burnt out window, the modest building not particularly ornate but still in good shape. Walking back from Spencer's just weeks later, two gas canisters lie along the side of the road, empty. Where there was a house is now a smoldering void.


Virtually nothing remains of the building, save the stone and cement foundation. The fire ate up everything but a small corner. But beneath the cascade of singed wood flooring, a treasure:


One 6"x8"x14' beam, almost wholly unharmed from the arson. This will be useful in replacing one of the main beams in the basement which has started to rot from moisture.

Chutes and Ladders

Last week our new friend and steady volunteer, Alex, came over to lend a hand. We set out to rebuild the rear wall, which has suffered the worst of the water damage. A week of digging down and cutting away rotted material later, we finally begin.


The top two courses of bricks of the original foundation are in rough shape - cracked and pulling loose by hand. Grabbing a few bricks from the porch of a nearby to-be-demo'ed house, we clean the surfaces and get ready to re-set them.


Two bricks are drilled into to set the threaded rod that will fasten the new sill plate to the foundation. Our corded hammer drill would've done great with this, but was stolen in the last theft. In good news, this was an excuse to upgrade the cordless set to Makita, which has proved to be substantially better. The cordless drill takes a minute to get through the brick, but does the job.


From the new sill to the second story beam is over 9', and we have few pieces of lumber to run as studs for that length. We do have an abundance of ~7' 2x4's that fill the (once-finished) basement. These are staggered, fastened, and layered together to create three singular pieces (double wide). From these intermediary horizontal pieces can span, allowing us to frame the rest of the wall without longer lumber.


With the new beam finally supported by more than a few nails, it can be used to re-hang the joist over the now-cantilevering second floor.

Left-over nails are cut away to make way for a new joist

A stubborn pipe suggests being turned into the beginnings of a pipe hand railing.


Finally the floor is resupported with a salvaged joist from the original floor tear-out. The way the beam has been hung this time doesn't allow us to notch the joist into it, but a steel joist hanger is reasonably cheap and will ensure a solid connection.