
Last week our new friend and steady volunteer, Alex, came over to lend a hand. We set out to rebuild the rear wall, which has suffered the worst of the water damage. A week of digging down and cutting away rotted material later, we finally begin.

The top two courses of bricks of the original foundation are in rough shape - cracked and pulling loose by hand. Grabbing a few bricks from the porch of a nearby to-be-demo'ed house, we clean the surfaces and get ready to re-set them.

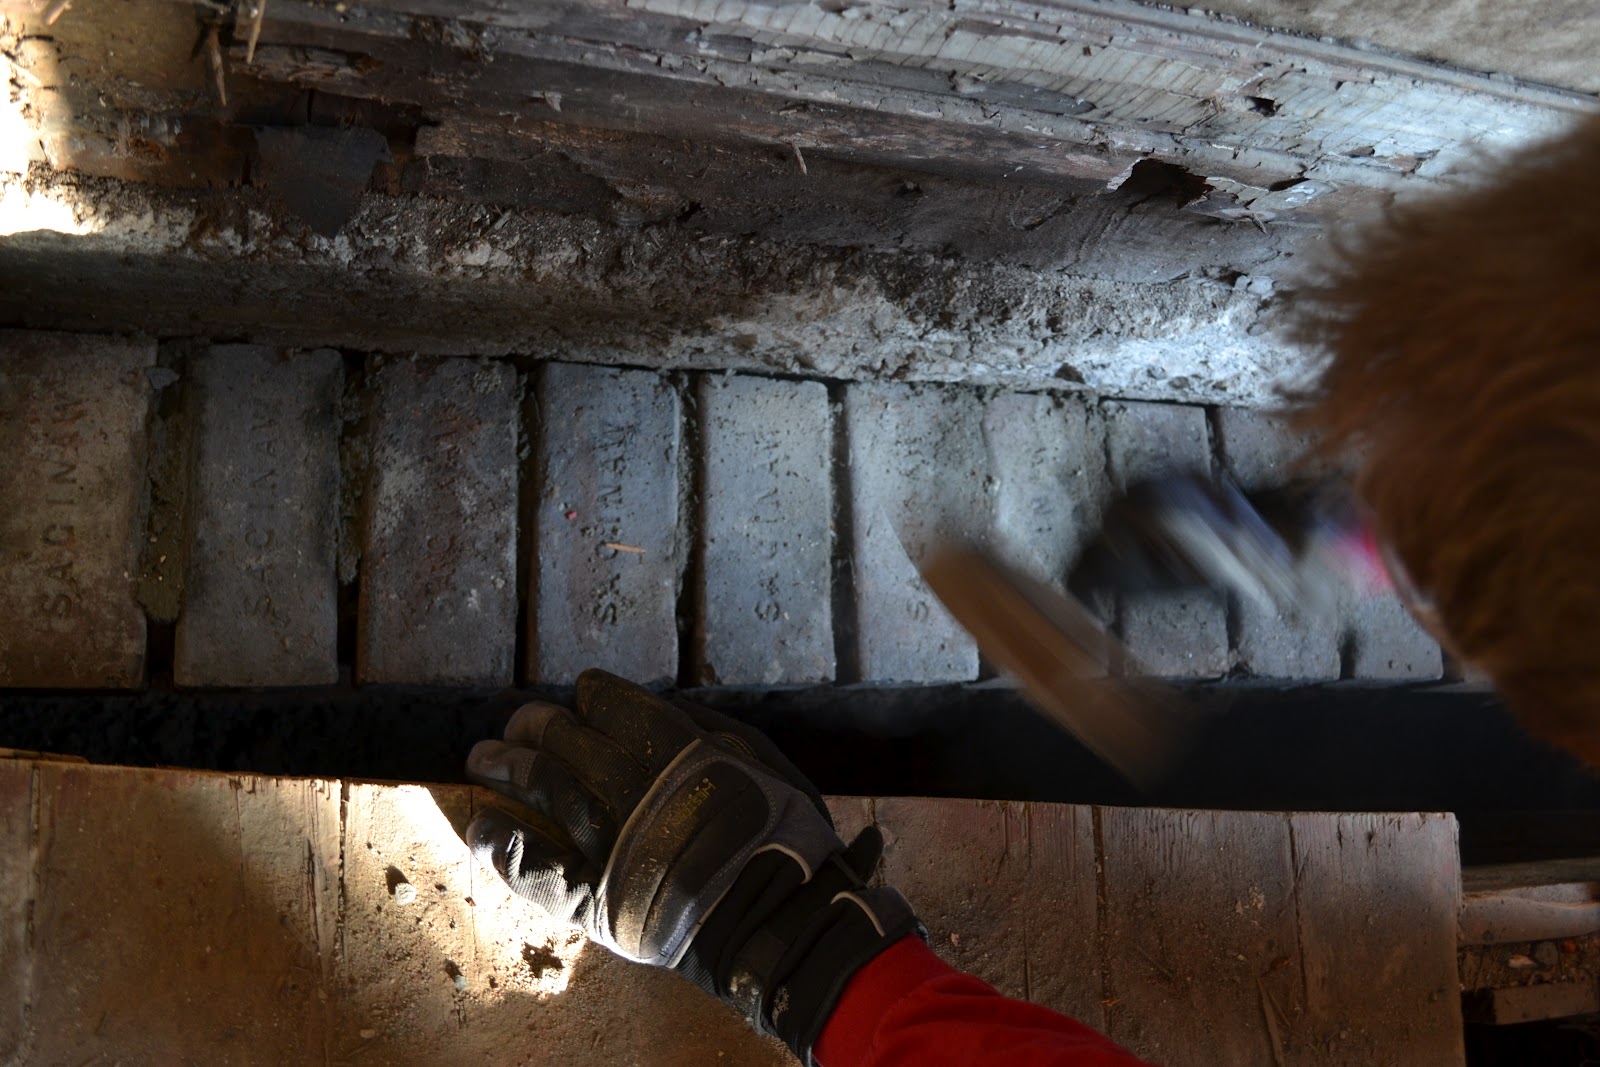

Two bricks are drilled into to set the threaded rod that will fasten the new sill plate to the foundation. Our corded hammer drill would've done great with this, but was stolen in the last theft. In good news, this was an excuse to upgrade the cordless set to Makita, which has proved to be substantially better. The cordless drill takes a minute to get through the brick, but does the job.

From the new sill to the second story beam is over 9', and we have few pieces of lumber to run as studs for that length. We do have an abundance of ~7' 2x4's that fill the (once-finished) basement. These are staggered, fastened, and layered together to create three singular pieces (double wide). From these intermediary horizontal pieces can span, allowing us to frame the rest of the wall without longer lumber.

With the new beam finally supported by more than a few nails, it can be used to re-hang the joist over the now-cantilevering second floor.

Left-over nails are cut away to make way for a new joist

A stubborn pipe suggests being turned into the beginnings of a pipe hand railing.

Finally the floor is resupported with a salvaged joist from the original floor tear-out. The way the beam has been hung this time doesn't allow us to notch the joist into it, but a steel joist hanger is reasonably cheap and will ensure a solid connection.
No comments:
Post a Comment